STM32 F0 DISCOVERY is a low-cost and easy-to-use development kit to quickly evaluate and start to develop with STM32 F0 microcontroller family. It is sold in a simple plastic package: there is no material to give protection against electrostatic discharge, no accessories like usb cable or user manual but only a prototype board to help you during applications development as you can see below:


ST requires that users accept the Evaluation Product License Agreement available at www.st.com/stm32f0discovery website before use the product.
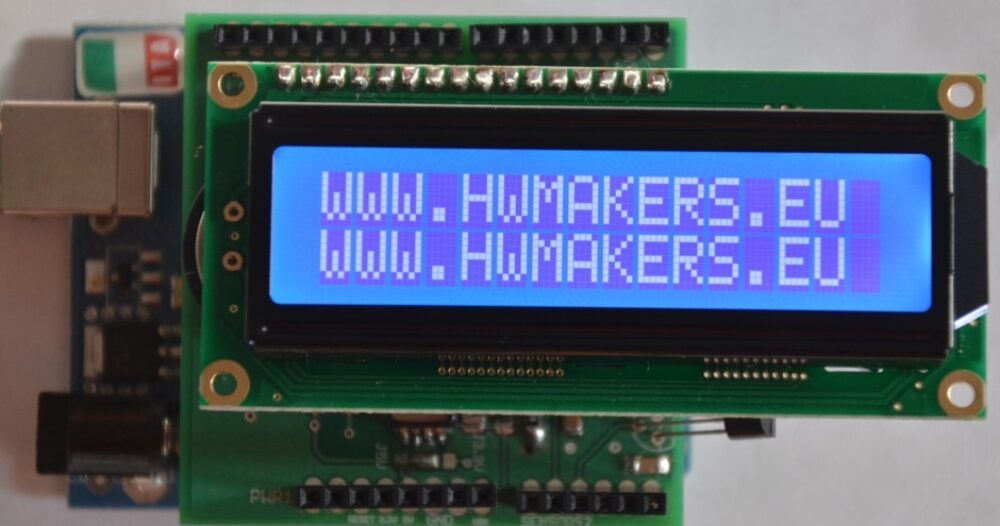
We want to highlight one thing before going on with the review: we are used to have available for all the hardware which can be considered “open”, both schematics and pcb files, usually in a widespread and common file format like the one used by Eaglecad which can be universally considered the open hardware design CAD for excellence. STM32F0 Discovery does not satisfy these requirements: there is available only a schematic in pdf format and gerber files. Anyway we want to see it working due to it can be compared with the other open hardware microcontroller boards (arduino for first) due to ST provides libraries which have been developed to use the available code written for arduino with it.
All the information related to this development kit are available through the web site (the link is printed on the paper inside the package):
Main site: http://www.st.com/internet/evalboard/product/253215.jsp
where you can find all the information to start to develop with it. The most usefull information are:
- User manual:
http://www.st.com/st-web-ui/static/active/en/resource/technical/document/user_manual/DM00049929.pdf
- Schematic:
http://www.st.com/st-web-ui/static/active/en/resource/technical/layouts_and_diagrams/schematic_pack/stm32f0discovery_sch.zip
- Project examples (including Arduino porting code):
http://www.st.com/web/en/catalog/tools/PF257885#
http://www.st.com/web/en/catalog/tools/PF257886#
To help user during development, the tool is provided with some usefull things as follow:
two push buttons:
- B1 USER: User push button connected to the I/O PA0 of the STM32F051R8T6.
- B2 RESET:Push button used to RESET the STM32F051R8T6.
four LEDs:
- LD1 PWR: Red LED indicates that the board is powered.
- LD2 COM: Tricolor LED (COM) advises on the communication status as follows:
- – Slow blinking Red LED/Off: At power on before USB initialization
- – Fast blinking Red LED/Off: After the first correct communication between PC and ST-LINK/V2 (enumeration)
- – Red LED On: When initialization between PC and ST-LINK/V2 is successfully finished
- – Green LED On: After successful target communication initialization
- – Blinking Red/Green LED: During communication with target
- – Red LED On: Communication finished and OK
- – Orange LED On: Communication failure
- – User LD3: Green user LED connected to the I/O PC9 of the STM32F051R8T6.
- – User LD4: Blue user LED connected to the I/O PC8 of the STM32F051R8T6.
P2 (Idd):
Jumper JP2, labeled Idd, allows the consumption of STM32F051R8T6 to be measured by removing the jumper and connecting an ammeter.
- Jumper on: STM32F051R8T6 is powered (default).
- Jumper off: an ammeter must be connected to measure the STM32F051R8T6 current, (if there is no ammeter, the STM32F051R8T6 is not powered)
The power supply is provided either by the host PC through the USB cable, or by an external 5V power supply; 5V and 3V can be used as output power supplies when another application board is connected to pins P1 and P2. In this case, the 5V and 3V pins deliver a 5V or 3V power supply and power consumption must be lower than 100 mA.

The board is bigger than Arduino (almost 1/3 bigger) and than MBED (more than 3 times):


The big dimensions cannot let you easily use a normal breadboard (you need two of them).
If you are used to Arduino’s or better to MBED’s IDE, the first thing you’ll notice with this development kit is that there is no dedicated IDE:
STM32F0DISCOVERY board includes an ST-LINK/V2 embedded debug tool interface that is supported by the following software toolchains:
- IAR™ Embedded Workbench for ARM (EWARM) available from www.iar.com
- RealView Microcontroller Development Kit (MDK-ARM) toolchain available from www.keil.com
- Atollic TrueSTUDIO® STM32 available from www.atollic.com
- Altium™ TASKING VX-toolset for ARM® Cortex-M available from www.tasking.com
To review the Discovery I have tried EWARM and TrueSTUDIO which are both available in evaluation version as well. I prefer EWARM which is, in my opinion, better, more complete and more friendly to use with F0 than TrueSTUDIO.
The board is provided with a simple preloaded firmware: LED 3 blinks; everytime you push B1, LED 4 is ON for a second and LED 3 change blinking frequency. At the third pression of B1, the LED 3 is OFF. The cycle start again from the beginning when you push B1 again:
ST provide a zip file with 21 firmware examples to test F0 capabilities. Let’ s see the DAC example: the code generate a sine waveform and an escalator waveform selectable by B1 and available on pin PA4:


ST provides also examples to use the board with Arduino’s shields:
-BeeBluetooth Bees Shield V2.12 (http://www.seeedstudio.com/wiki/Bluetooth_Bee)
-MIDI shield (http://www.sparkfun.com/datasheets/DevTools/Arduino/Midi_Shield.zip)
-NFC shield V0.9b (http://www.seeedstudio.com/wiki/NFC_Shield)
and provides the firmware to test the libraries which port the Arduino’s code to Discovery. Here the example code provided for ADC conversion:
uint16_t G_ADCValue=0;
float G_ReadVal =0;
char G_SendBuff[64];


void setup(void){
uint16_t i = 0;
char L_readChar;
Serial.begin(115200); }

void loop(){
delay(2000);
    while(1){

     delay(2000);
     G_ADCValue = analogRead(A2);
     G_ReadVal = (float)(POWER_SUPPLY * G_ADCValue) / 4095;

     sprintf(G_SendBuff,"%f Volt",G_ReadVal);
     Serial.print("ADC read: ");
     Serial.println(G_SendBuff);
     i++;
     if(i>10) i=0;
     while(Serial.available()) {
       L_readChar = Serial.read();
       Serial.write(L_readChar);
     }
     Serial.println("");

    }
}
Conclusion:
Discovery is a very cheap development board which has no comparable competitors in terms of such price/performance ratio. The board is very big (e.g. MBED use a Cortex M0 microprocessor using less than 1/3 pcb space but it costs almost 8 times) and there is no dedicated IDE which is an important feature for beginners. There are Arduino’s libraries available but they are not ready to use as the ST team would like us to believe: before compiling it is required to set some parameters and to adjust some settings which could be not a simple task for beginners (anyway the code seems to work as required). I think the main reasons why Discovery is so cheap is the use of a big pcb which reduce the cost of designing as well as the use of a not customized IDE. In my opinion this development kit is a good alternatives to the ones already available at least for skilled guys, which can have a good product at a very low price.
PRO: very cheap
CONS: there is no dedicated IDE avaible. It is not easy to use for beginners.
ST have removed the ‘Project examples (including Arduino porting code)’ and the links is not valid any more. Is this source still available somewhere?
Thank you Gerrie, the links have been updated to be congruent with the new ones of the ST page.